How Is Cultured Stone Installed? Step-by-Step Guide
Cultured stone and brick installation step by step: surface preparation, dry layout, starting at the corners, bonding, grouting and cleaning — plus common mistakes.

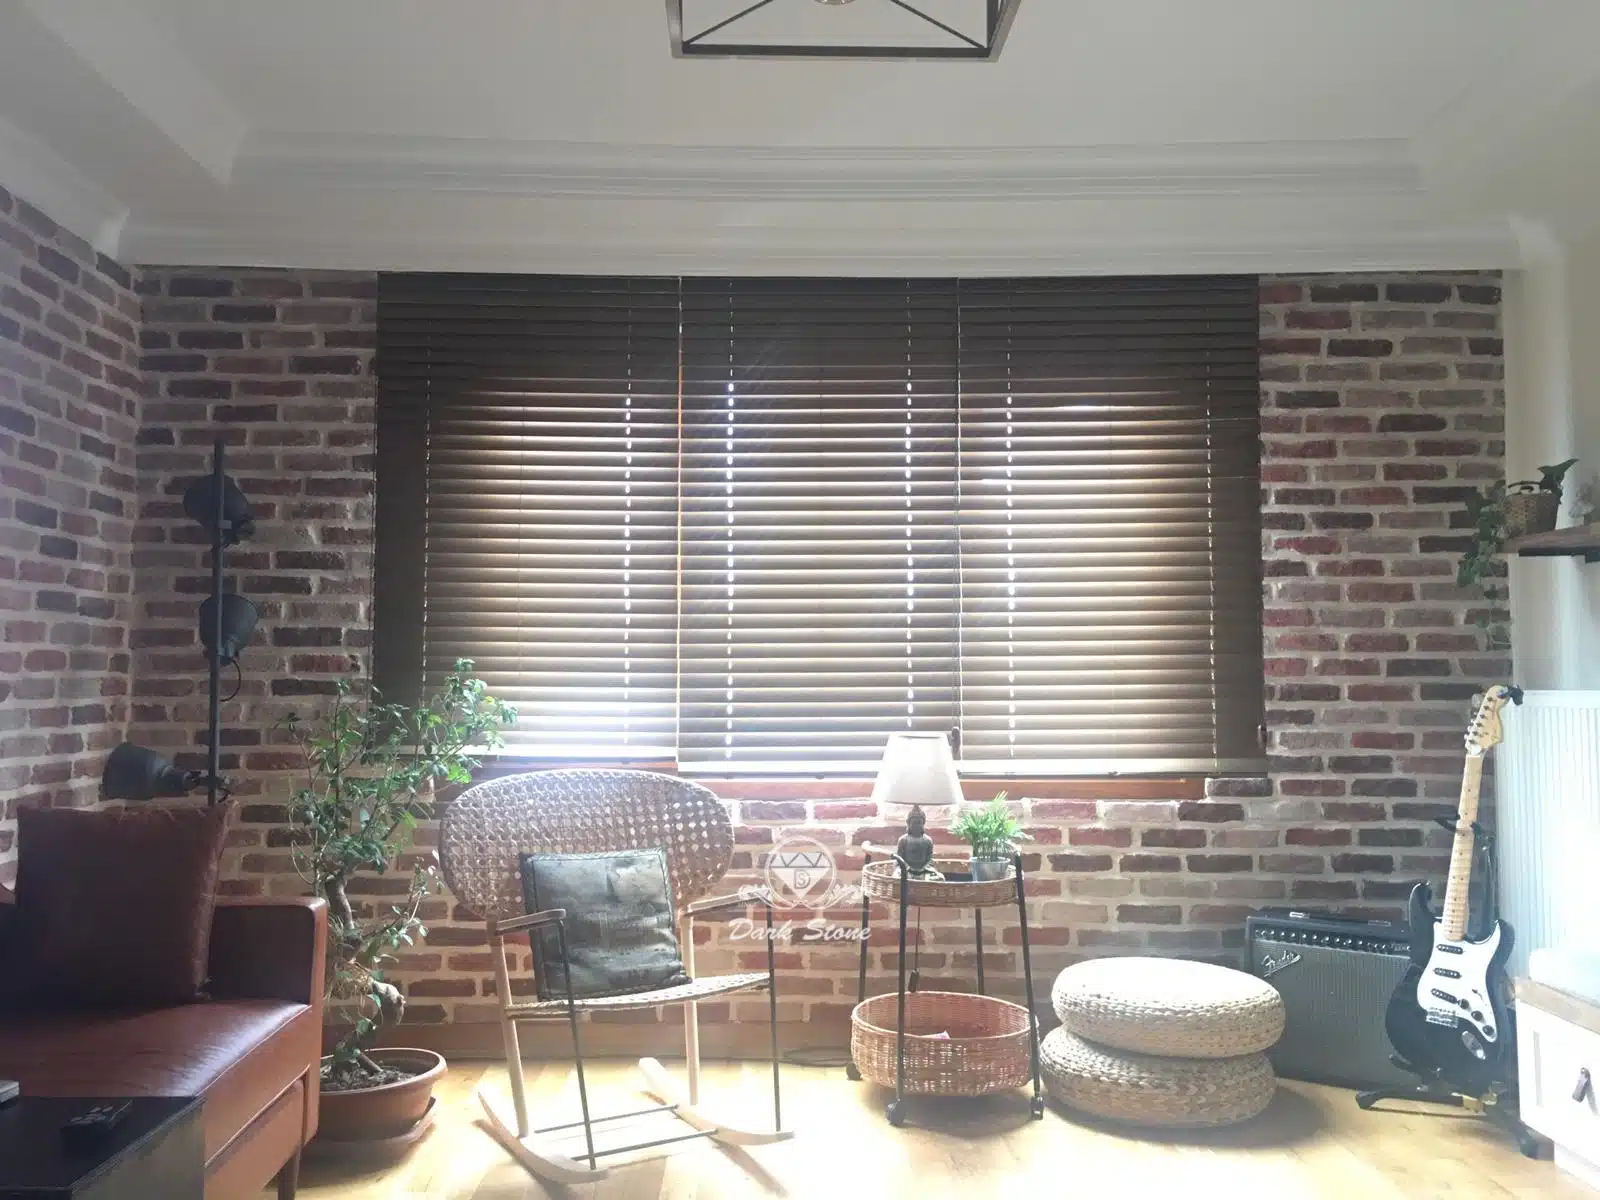
Installed correctly, cultured stone stays looking as good as on day one for years. The quality of the result depends on surface preparation, the layout of the stones and attention to detail. Here are the general steps for installing cultured stone and cultured brick. Because materials and surfaces vary from project to project, we recommend agreeing the exact installation details with an experienced team during a site visit.
Before you start: preparation
1. Assess the surface
Cultured stone must be applied to a sound, load-bearing surface. The surface should be:
- Clean: remove dust, grease, release agent and loose material.
- Sound: strip blistered plaster, flaking paint and poorly bonded coatings.
- Even: correct noticeable bows and hollows first.
- Dry: if there is damp, deal with its source first.
Painted walls, plasterboard and external insulation systems may need special preparation. Agree how each surface will be treated during the site visit.
2. Calculate the quantities
Flat areas are measured in m², external corners in metres, with a small allowance added for cuts. See area calculation and price for a worked example.
3. Mix the stones and dry-lay them
Because cultured stone is handmade, there can be slight tonal differences between boxes — part of its natural look. Open several boxes, mix the stones and lay them out dry on the floor before you start, so colours spread evenly across the wall. Balance large and small pieces, light and dark tones.

Installation steps
4. Start with the corners
If there are external corners, start with the corner modules. Alternate the long and short returns (one left, one right) to create a genuine built-stone look, then work from the corners towards the middle with flat pieces.
5. Work from the bottom up
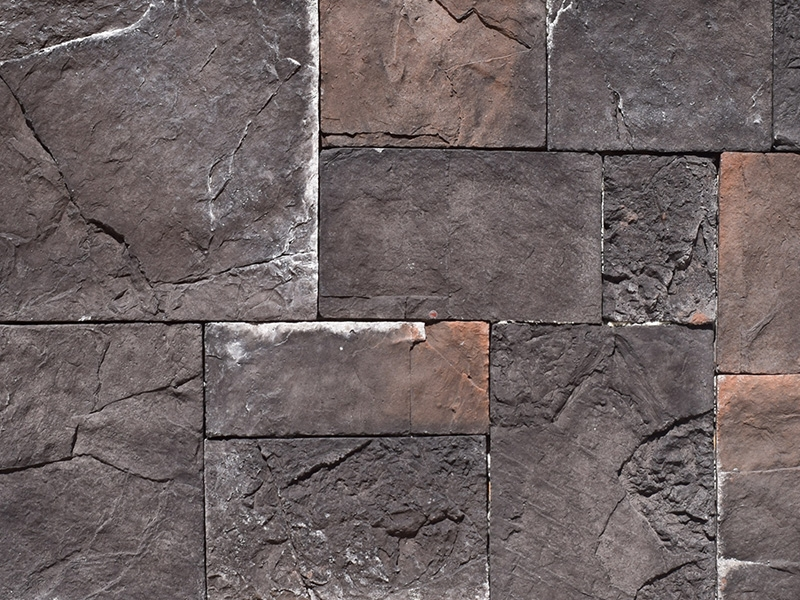
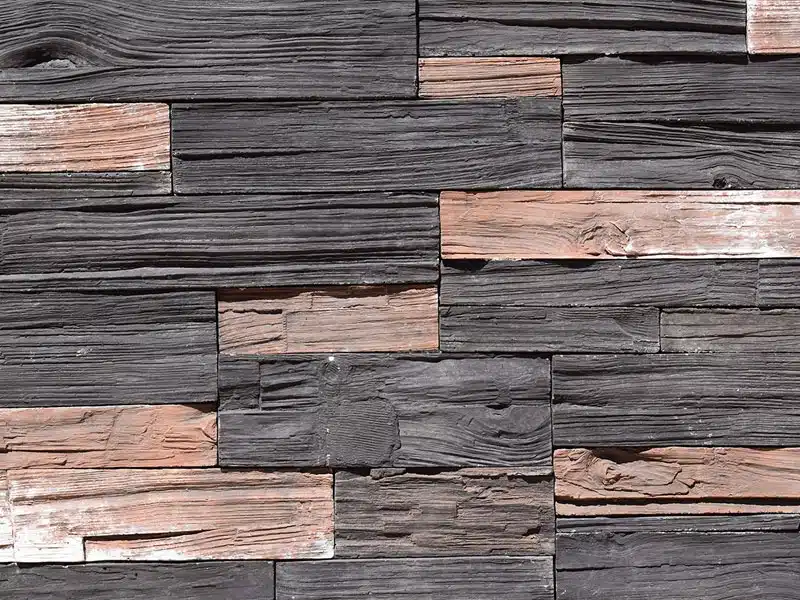
Stones are generally laid from the bottom upwards. For coursed models (slate, layered stone, brick) use a string line or laser level to keep the courses straight. For irregular models, avoid placing stones of the same size and tone next to each other.
6. Bonding
Stones are bonded with an adhesive suited to the surface and location, as recommended by the manufacturer and installer. Commonly, adhesive is applied both to the wall and to the back of the stone, which is then pressed firmly into place so no voids remain behind it. Choose the adhesive (interior/exterior, surface type) during the site visit.
7. Cutting
Stones are cut with a suitable cutter around windows, sockets and edges. Keep cut faces out of eye line, hiding them in corners or joints where possible.
8. Grouting (for jointed models)
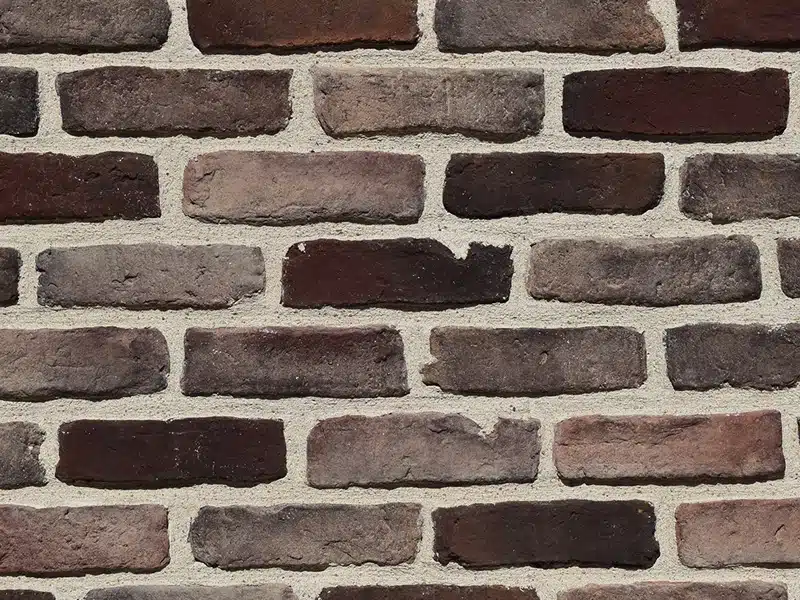
For jointed models, once the stones are set and the adhesive has hardened sufficiently, the joints are filled with grout. Work carefully so grout does not smear the stone face, and remove excess before it dries. Joint colour has a big impact on the look, so choose it together with the stone colour. Jointless models are laid tightly together.
9. Cleaning and protection
When finished, brush the surface with a soft brush. Optionally — especially on façades, in kitchens and high-traffic areas — a protective water-repellent sealer can be applied; discuss suitability with your installer. See our care and cleaning article.
Common mistakes
- Skipping surface preparation: laying over loose plaster or paint weakens adhesion.
- Not mixing boxes: laying one box after another can create colour bands.
- Closing corners with flat pieces: without corner modules, the cladding immediately looks artificial.
- Smearing grout on the stone: dried grout stains are hard to remove.
- Forgetting the electrics: plan sockets, switches, TV and lighting points before installation.
Can I install it myself?
Small interior walls can be tackled by handy DIYers, but for façades, tall walls, fireplace surrounds and areas with many corners, an experienced team is safer for both looks and durability. Dark Stone offers free site visits in Ankara and guidance on installation and materials. Get in touch for details.
Frequently asked questions
Can cultured stone be applied to a painted wall?
It depends on the paint. A paint layer can weaken adhesion, so in most cases the surface needs preparing. We assess your surface during the site visit.
Do I have to leave joints between the stones?
No. Some models are jointed, others jointless, and some can be laid either way — Dark Castle Block, for example, can be laid with or without joints.
When can the wall be touched after installation?
It depends on the adhesive and grout used, and on temperature and humidity. Follow the curing times stated by the material manufacturer.